


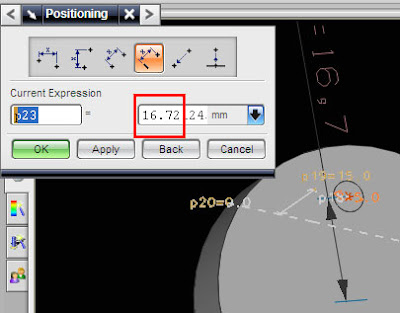


 16:23
16:23

Curve operation in Unigraphics NX5 is very interesting,because it easy to operate as our need,
EXTRACT CURVE
first let's learn about extract curve, From the edge of the face may sometimes be necessary to draw a line, if the face is a connection between two or more face we do not need to draw it, use the extract face an easier way.in the figure below, we need a line that curved to explain about partings line (mold design).
 The first step is to click the icon extract the curve, the shape iconya like the image below, if the icon is missing, to appear in the toolbar curve and curve editing.

after clicking the icon extract the curve there is a dialog box option to extract the curve, such as the following picture

there are various options for extracting the curve,1. curve for extracting edges from the edge curve, Every face, body That edge cans containing changed from a line.2. isoparametric curve, for extracting isoparametric curve.3. silhouette curve, extract the curve from the views which we look directly at the monitor.4. All in work view5. isocline curve6. shadow outline
in this example choose the number one edge curve, and then click the edge you want in the extract, the result like the picture beriku, you'll get a line in accordance with the selected edge shapes, although the formation of the arch, loop, etc.

PROJECT CURVEwhile the "project curve" is used to make a line on the project area, this is used when we created a line that can not directly be made on a face, for example due to the curved face, simply by making a line with the project above the curve we can draw a line in accordance with arch shape.

There are three steps for the project curve
1. select the line that will be projected
 2. then click face for project area
 3. click OK, then you have line on that face.

EXTRACT CURVE
first let's learn about extract curve, From the edge of the face may sometimes be necessary to draw a line, if the face is a connection between two or more face we do not need to draw it, use the extract face an easier way.in the figure below, we need a line that curved to explain about partings line (mold design).


after clicking the icon extract the curve there is a dialog box option to extract the curve, such as the following picture

there are various options for extracting the curve,1. curve for extracting edges from the edge curve, Every face, body That edge cans containing changed from a line.2. isoparametric curve, for extracting isoparametric curve.3. silhouette curve, extract the curve from the views which we look directly at the monitor.4. All in work view5. isocline curve6. shadow outline
in this example choose the number one edge curve, and then click the edge you want in the extract, the result like the picture beriku, you'll get a line in accordance with the selected edge shapes, although the formation of the arch, loop, etc.

PROJECT CURVE

There are three steps for the project curve
1. select the line that will be projected


