1. first choose block icon from feature.

2. dialog box will appear, there are three type method that we can chose , from left: one point, two point and diagonal point. chose one point
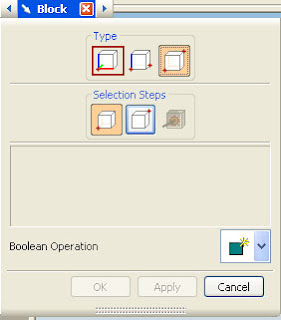
when you choose one point, enter the value of X,Y,Z, fill those text box with , X=80,Y=80 and Z=100.
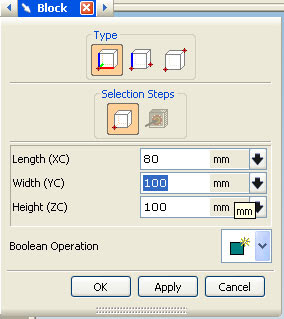
3. click oke or click MB2 in your mouse (MB2 is scroll button) or click OK button. a block will appear in your screen, (click Ctrl+F2) to fit with screen.
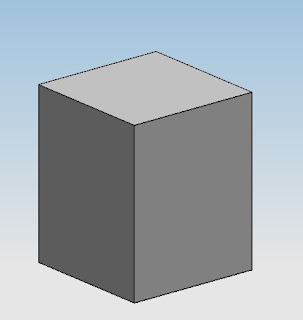
Congratulation you have block like picture above.
What we do when we need to change the dimension ?
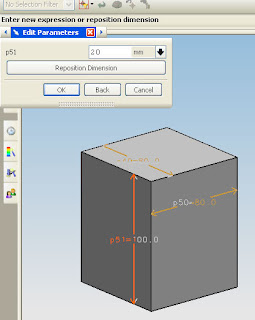
just click twice on the block, edit parameter dialog box will appear, we can edit the dimension by clicking feature dialog or by clicking the dimension that appear in the block. now let's change the z dimension from 100 to 20, click the Z dimension that appear, then change the value with 20 in dialog box, click OK, then OK again.
Step1
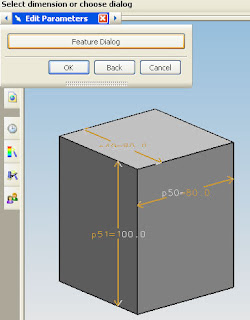
step2
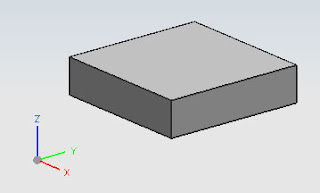
your block dimension will change


 17:19
17:19

 Posted in:
0 comments:
Post a Comment